


More than a grill, a Kamado Joe kamado grill can become a charcoal-fired oven with just a simple configuration for both baking and roasting. Anything you’d cook in an indoor oven, from wood-fired pizzas to juicy pork tenderloin, can be replicated on a Kamado Joe by harnessing the power of your charcoal-powered grill.
How to Bake
A Kamado Joe’s ceramic walls retain heat and its circular shape promotes superior air circulation, creating ideal conditions for baking. You can bake anything you’d cook in an indoor oven, from wood-fired pizzas to rustic berry cobblers to fresh, crusty bread.
Note: to bake pizza, you’ll need to raise the temperature beyond typical baking temperatures (300-450°F/150-230°C) to 500°F (260°C) or higher.
- Top off or fill the firebox with charcoal. Light the charcoal. Install the heat deflector plates; then place the pizza stone or cooking grate on top. Leave the dome open for about 10 minutes, then close.
- Open the bottom vent and top vent halfway until the Kamado Joe approaches 300-450°F (150-230°C). Then begin closing the vents as needed to stabilize the kamado at your target temperature. If you’re making pizza, increase the heat to 500°F (260°C) or higher.
- Be sure to ‘burp’ the grill every time you open the dome to prevent dangerous flashback. Opening the dome 2-3 inches and allowing heat to escape for about 5 seconds should prevent this.
- When the grill is hot enough, you’re ready to bake. Use the top daisy wheel to fine-tune any temperature adjustments.
When baking with a Kamado Joe, you can set up your flexible cooking rack system in one of two configurations:
- With both half-moon grates and both heat deflectors
- With pizza stone and both heat deflectors
How to Roast
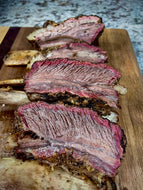
Juicy and tender on the inside, crisp and flavorful on the outside - this is the work of roasting. This technique is delicious for larger cuts of meat, like whole chicken or pork loin, or for vegetables.
The mid-range temperature (300-450°F/150-230°C) harnesses the power of slow, indirect heat to infuse food with wood-fired flavor and tenderness, while delivering enough heat to create a crisp crust or finish. And if you want to experiment with brines or spice rubs, roasting is a great way to show them off.
- Top off or fill the firebox with charcoal. Light the charcoal.
- Install the heat deflector plates; then place the cooking grate on top. Leave the dome open for about 10 minutes, then close.
- Open the bottom vent and top vent halfway until the Kamado Joe approaches the target temperature for roasting, 300-450°F (150-230°C). Then begin closing the vents as needed to stabilize the Kamado Joe at your target temperature.
- When the grill is hot enough, you're ready to roast.
When roasting with a Kamado Joe, you can set up your flexible cooking rack system in one of two configurations:
- With both half-moon grates and both heat deflectors and no drip pan
- With both half-moon grates and both heat deflectors with a drip pan under the grates
Baking and roasting are great ways to explore the cooking advantages of a Kamado Joe grill. Use both to your advantage as you discover all there is to love about a Kamado Joe.
Accessories for Baking and Roasting with your Kamado Joe grill
These are a few of the accessories you can use to maximize the use of your kamado grill for baking and roasting:
- DōJoe pizza oven accessory: Transform your Kamado Joe grill into a best-in-class pizza oven and create authentic-styled pizza
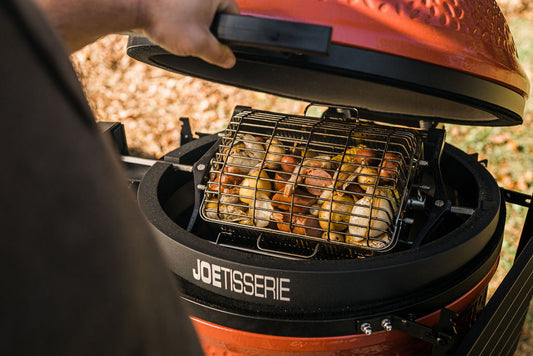
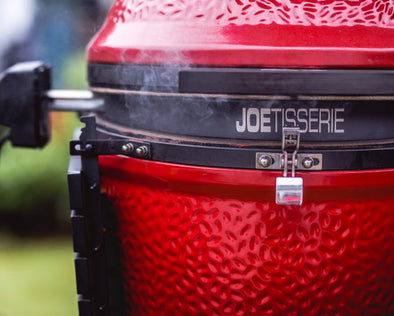
- JoeTisserie: transform your Kamado Joe into a rotisserie-style grill with the JoeTisserie attachment
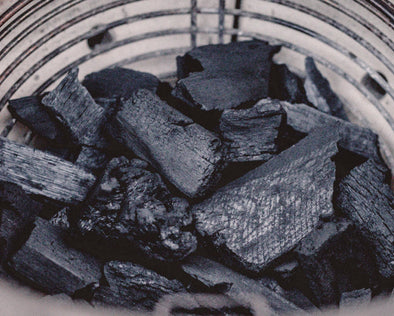
- Big Block Lump Charcoal: the high-ranked quality of the charcoal provides decadent smoke, resulting in unmatched food flavor
Overall, baking and roasting on a kamado grill elevates the baking experience, producing delectable treats that are sure to impress family and friends alike.
To learn more about the fundamentals of Kamado Grilling, check out our blog here.